Showing posts with label Bread. Show all posts

November 11, 2022

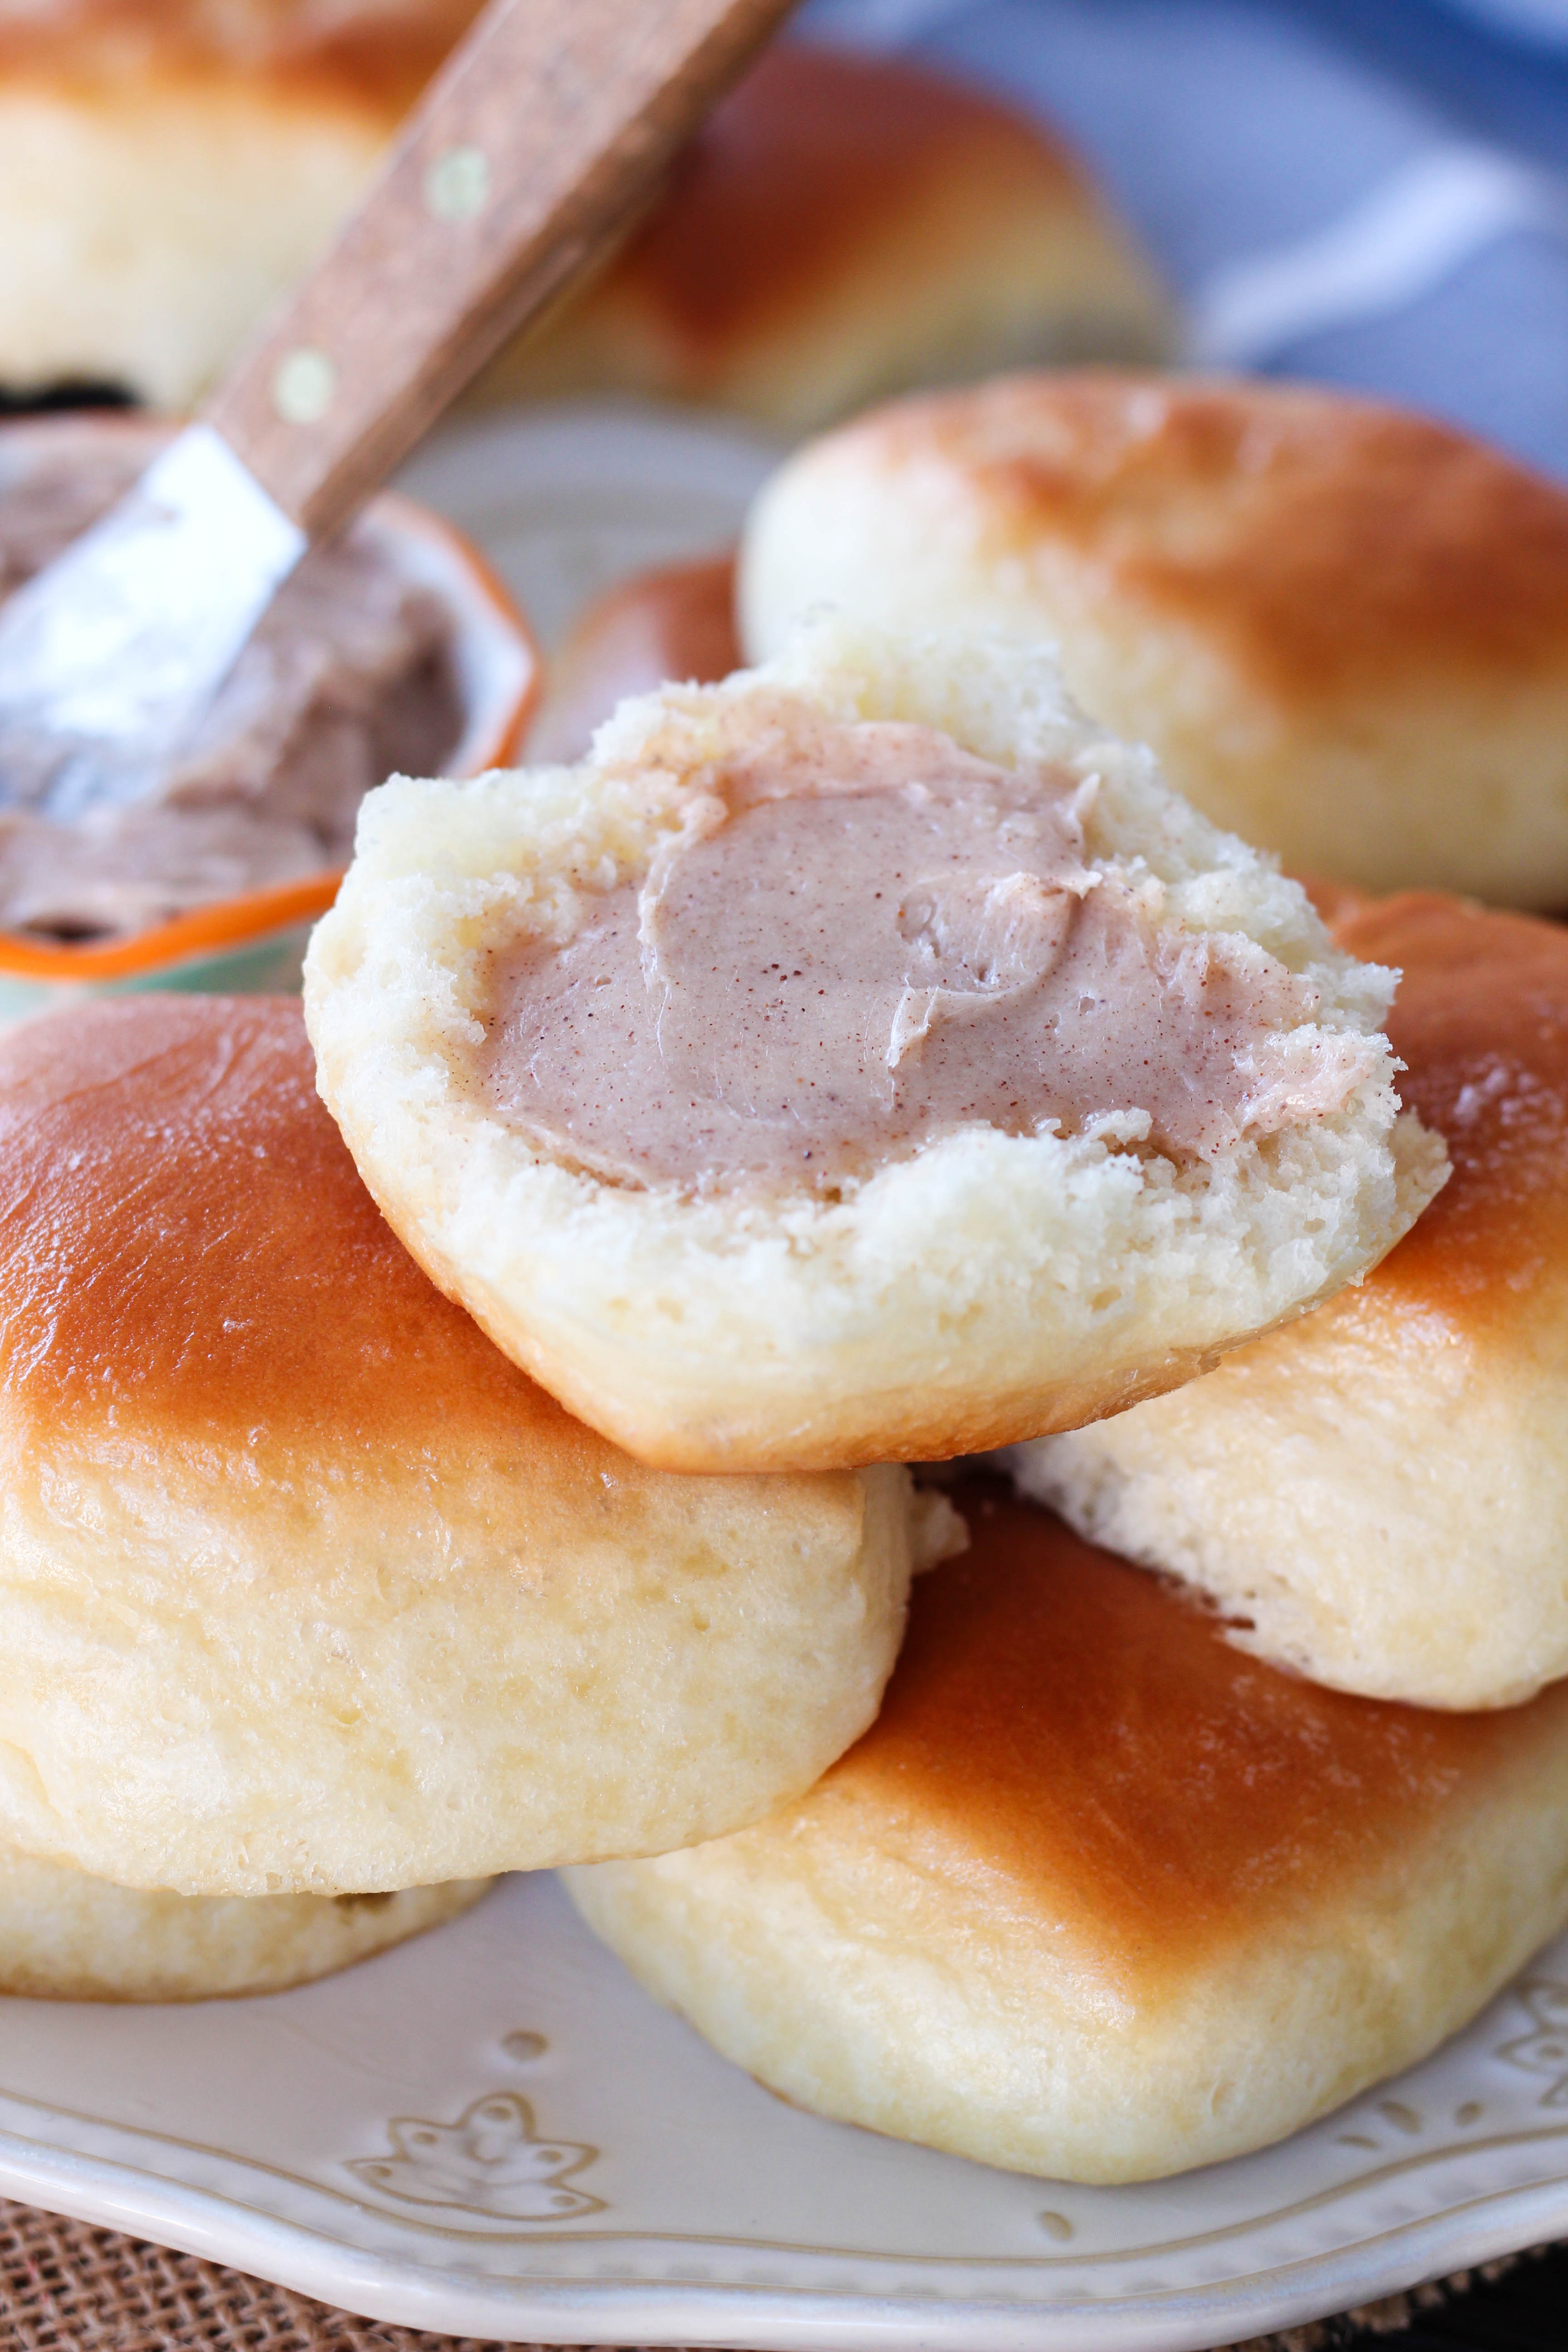
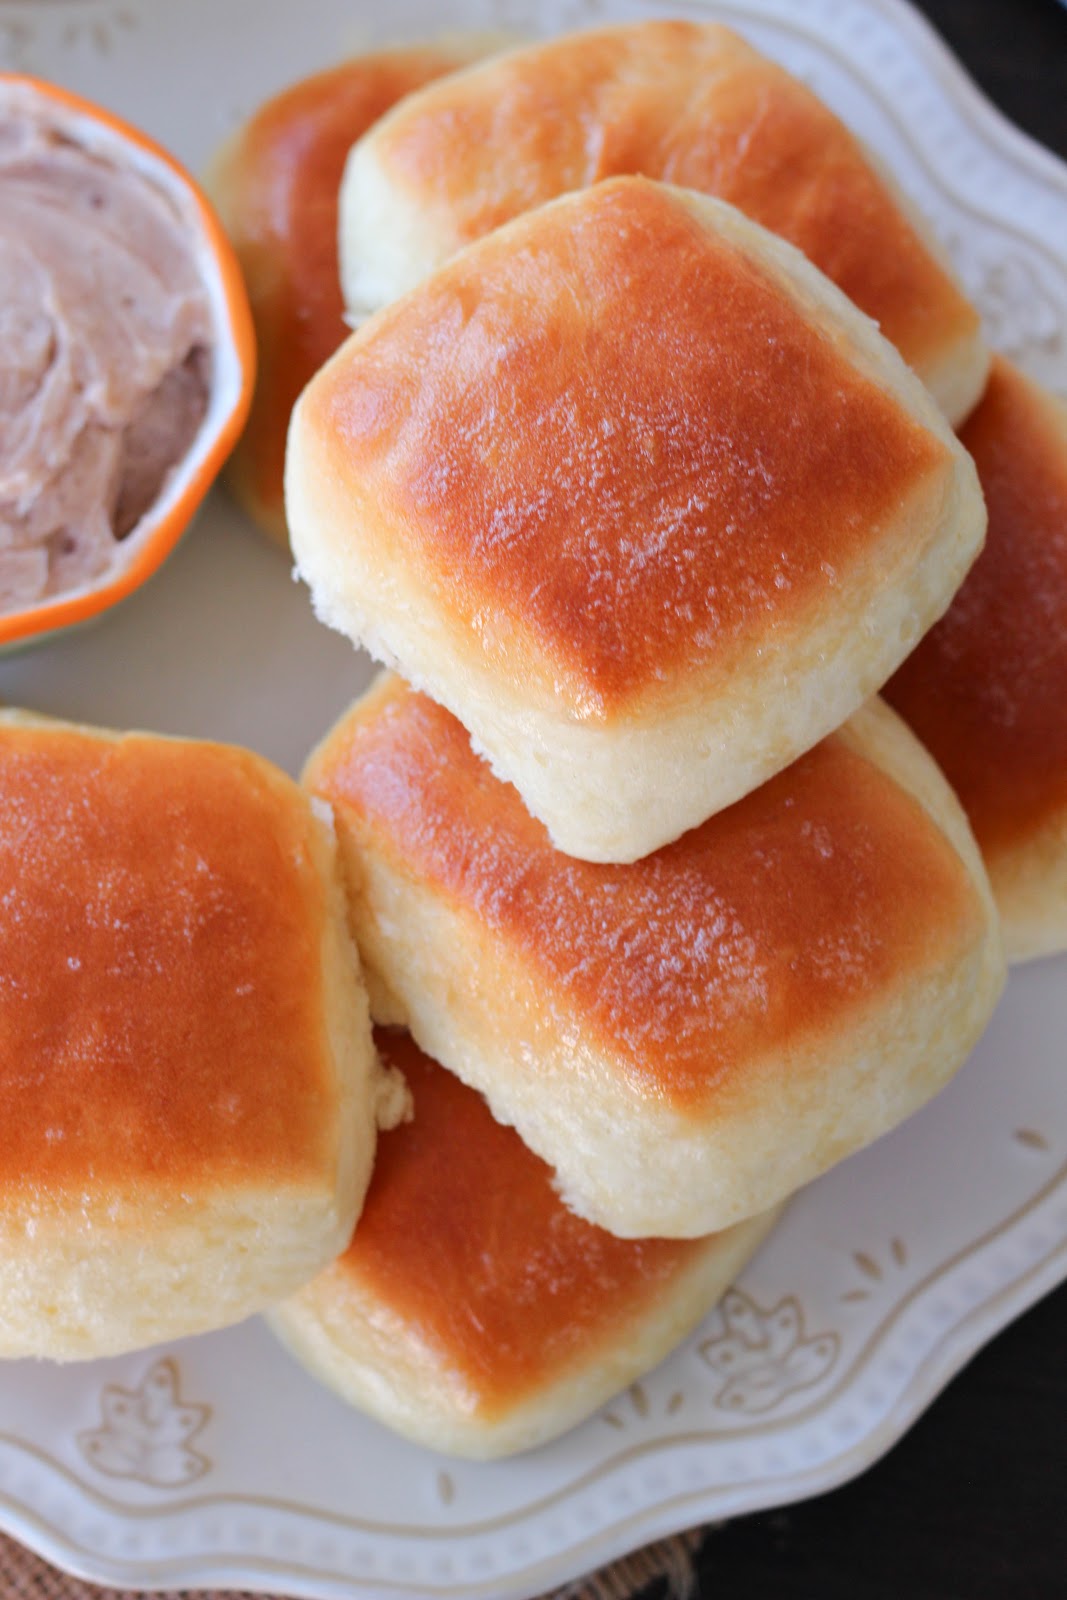
Copycat Texas Roadhouse Rolls


This recipe was originally posted back in 2011 and it's one of my post popular recipes on the blog.  It was time for some updated photos.  

Here is the original post:
Whoever created the roll recipe at Texas Roadhouse is a genius and whoever decided to give them to guests as a "complimentary appetizer" is a genius.  What is the first thing you hear from people when they talk about Texas Roadhouse?  I hear "I love their rolls," I have never heard anyone start out by saying "I love their pulled pork sandwich," have you?  Don't get me wrong, they have really good food too, but their rolls are unbeatable.  

I found this copycat recipe floating around the blog world and I couldn't wait to give them a try.  Honestly, I was extremely skeptical about these.  Why?  Texas Roadhouse uses a "roll mix" to make their rolls, so I doubt anyone, other than the creator, knows the real recipe.  They also use a combination of butter and margarine (I read the package on the butter the baker was adding to the mix and that is what it said).  I wanted to try them anyway, because secretly, I was hoping maybe they would at least kinda taste like them?
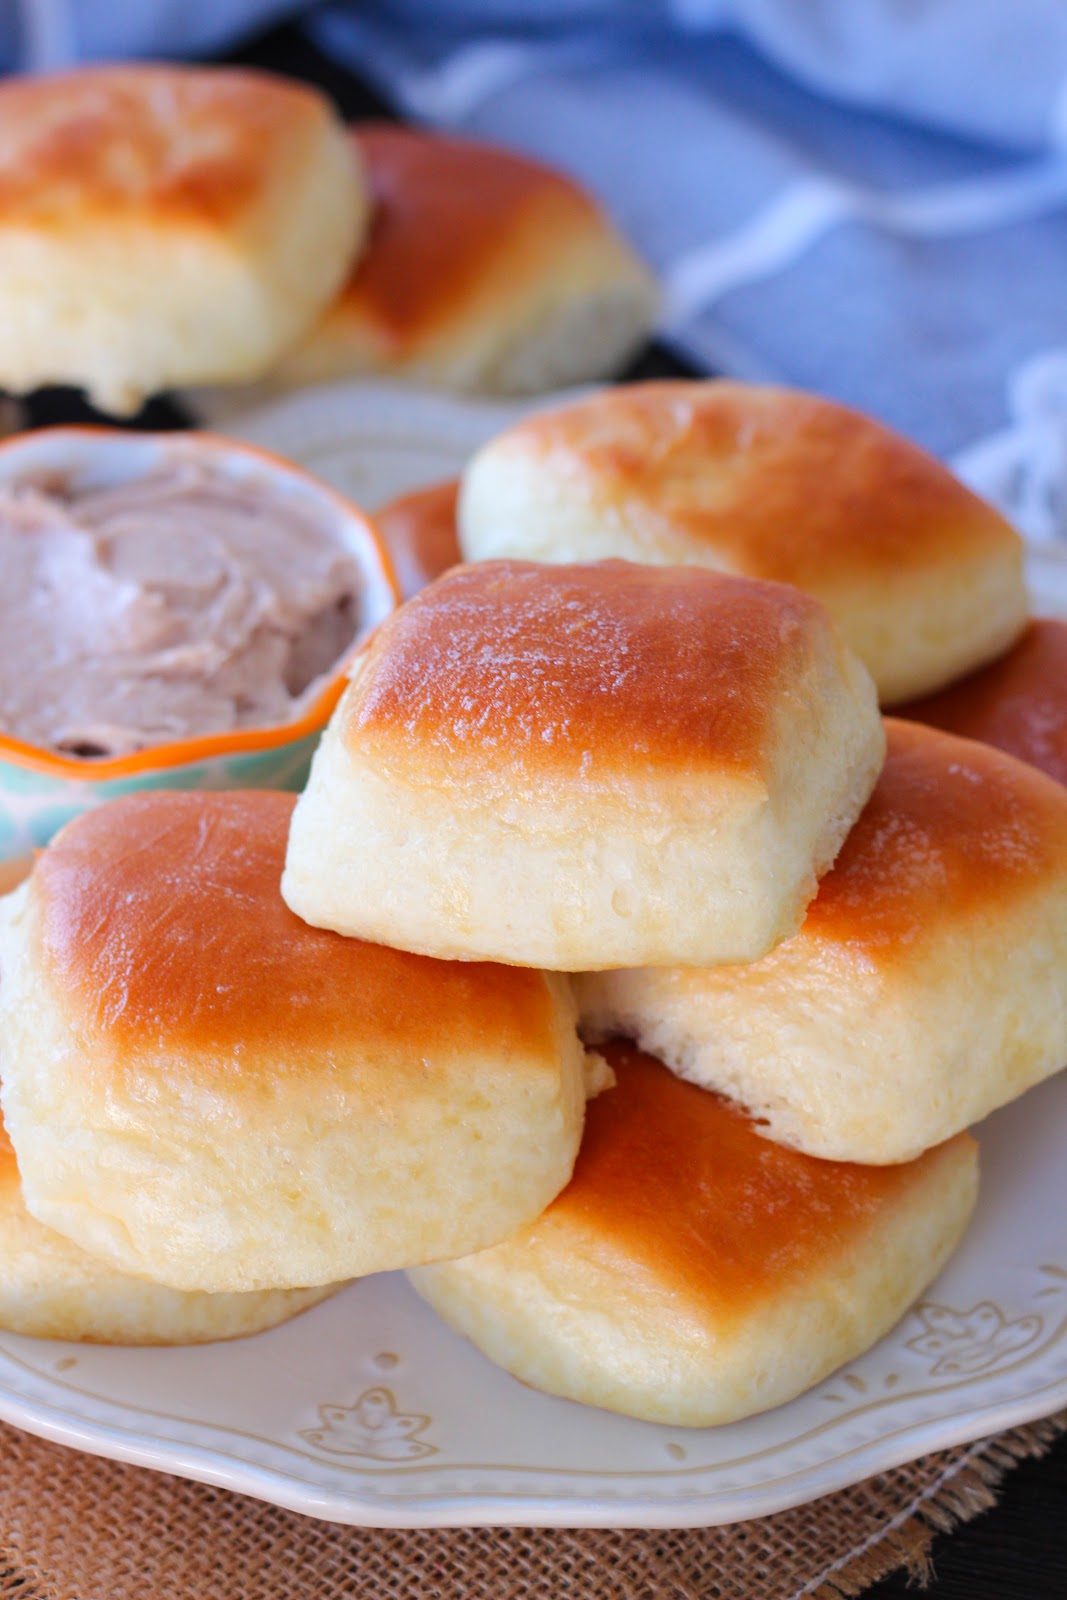
Well. . . . Did they taste like the real thing . . . . Mine did NOT taste anything like Texas Roadhouse's. However, they turned out really really good.  They are way too soft, light and fluffy to be Texas Roadhouse's.  I must say, I have no complaints about these rolls.  I love super soft rolls.  So, if you want a good roll recipe, you can't go wrong with these.  Serve with cinnamon honey butter


Texas Roadhouse Rolls - Copycat Recipe

4 tsp. active dry yeast
1/2 c. warm water
2 c. milk, scalded and cooled to lukewarm
3 Tbl. of melted butter, slightly cooled
1/2 c. sugar plus 1 tsp.
6-7 c. all purpose flour
2 large eggs
2 tsp. salt

Dissolve yeast in warm water with a teaspoon of sugar; let stand until frothy.  Combine yeast mixture, warm milk, 1/2 cup sugar and enough flour to make a medium batter (about the consistency of pancake batter).  Beat thoroughly.  Add melted butter, eggs and salt.  Beat well.  Add enough flour to form a soft and slightly sticky dough.  Using the dough hook of a stand mixer, knead until soft and silky, about 4-5 minutes.  Cover and let rise in a warm place until double in size.  Punch down.  Turn out onto a floured board.  Divide into portions for shaping; let rest 10 minutes.  Shape dough into desired forms.  Place on greased baking sheets.  Let rise until doubled.  

Bake at 350 degrees for 14-15 minutes or until golden brown.  Brush immediately with butter.  Yield: around 2 1/2 - 3 dozen rolls.  Serve with Cinnamon Honey Butter.  

*Jenn's Notes: I shaped my rolls by rolling out the dough into a rectangle, about 1/2-inch thick, then I folded the rectangle in half, making it about 1-inch thick. I used  my rolling pin and rolled over the dough, ever so gently, just to seal the two halves together.  I then used a dough scraper and cut the rolls into squares and placed those on my greased baking sheet.  

November 22, 2021

My Go-To Dinner Rolls

These have been my go-to rolls for the past several years.  They are delicious, they turn out great every time and they don't require any kneading or rolling out which is always a win in my book.  They have a slightly sweet flavor, the texture is so soft and flaky and plus . . . they are big.  
I'm always a fan of big rolls :)
I originally posted these back in 2011.  Here is the original post: 

These have been declared the World's Best Dinner Rolls by the authors of Our Best Bites.  That was a pretty smart move on their part to name their rolls the world's best, because with a title like that, you can't help but give them a try.  Did they live up to that title?  

These are incredible.  They taste just like another roll that I make, that I absolutely love.  They are so soft and very very easy to make.  They are great plain, with butter, with honey and I think they would make a perfect little sandwich with some ham and cheese.  The recipe recommends using whole milk and when I went to the store, I planned on buying whole milk, but the smallest carton they had was a one gallon size and I was planning on cutting the roll recipe in half, so I couldn't justify buying a whole carton of whole milk when I was only planning on using one cup and not knowing of anything else I could make with the whole milk.  So, I didn't buy it and I ended up using 2% and these rolls were amazing.  If they taste even better than this with the whole milk, then I have got to try it, because I was so impressed with these.  


My Go-To Dinner Rolls
adapted from: Our Best Bites

2 c. whole milk*
1/2 c. plus 1 Tbl. sugar, divided
1/3 c. unsalted butter
2 tsp. kosher salt
2 pkgs. (4 1/2 tsp.) active dry yeast
2/3 c. warm water
8-9 c. all-purpose flour, divided
3 large beaten eggs

*Whole milk is recommended, but if you're in a pinch 2% milk will work, but try to stay away from 1% or skim.

Combine milk, 1/2 cup sugar, butter and salt in a medium saucepan.  Heat over medium heat until butter is melted.  Remove from heat and allow to cool until lukewarm (this is really important, because if it is too hot, it will kill the yeast).  

While the milk mixture is cooling, dissolve the yeast and 1 Tablespoon of sugar in warm water.  Let stand about 10 minutes.  If the yeast hasn't bubbled, you'll need to repeat this step with new yeast.

In a large mixing bowl, combine 3 cups of flour and milk mixture.  Beat on low for 30 seconds, scraping sides of bowl constantly.  Add yeast mixture and beat on high for 3 minutes.  Add beaten eggs.  Stir in as much of the remaining flour as needed to make a soft dough.  This dough should be very soft and sticky- it will be coming away from the sides of the bowl, but it will still stick to your finger when you touch it.  (If you add too much flour, these rolls will be heavy and dense).  Place the bowl in a warm place and cover with a clean towel; allow to rise until doubled, about 1 hour.

Punch down dough.  Lightly flour your work surface and turn dough out onto surface.  Divide in half.  Spray two 9x13-inch glass pans with cooking spray.  Pat first portion of dough into a rectangle and then cut into 12 equal-sized pieces.  Shape each piece into a ball and place in prepared pan.  Repeat with remaining dough in the second pan.  Cover with a clean cloth and allow to rise in a warm place for about 30 minutes or until doubled in size.  When dough has about 15-20 minutes to go, preheat oven to 375 degrees.  Bake for 16-17 minutes or until golden brown.  When done, remove from oven and rub a stick of cold butter over the tops of the rolls until each roll is covered in butter. 

Jenn's Notes:  I cut this recipe in half and got 12 rolls.  I used 2 eggs and 4 cups of flour total.  When you are done mixing, the dough is still pretty sticky, but it firms up during the rising process and was very easy to work with.  During the second rise, my rolls took longer than 30 minutes, more like 45 minutes.  So, plan a little extra time, just in case.  These rolls were still delicious and very soft the next day, but I couldn't tell you about the 3rd day, because I didn't have any left.  

***Update - I have made these rolls a lot since this post.  They have become my new go-to roll recipe, because they are so easy and turn out perfect every time.  I have made them with both 2% milk and whole milk and I think they are delicious both ways.  I bake mine for 17 minutes.***


August 22, 2020

Cream Cheese Swirled Pumpkin Muffins {Keto Friendly}

 These low carb pumpkin muffins are incredible.  

I am constantly surprised at some of these low-carb recipes I keep trying.  I have found so many good recipes that I am loving and I'm shocked they are just as delicious as the regular, sugar-loaded, high carb muffins I'm used to having.  

You make these just as you would any regular muffin recipe.  You start by creaming together softened butter and your sweetener of choice.  Lately, I prefer Monkfruit, but use whatever you prefer.  Then, you add your eggs and a few other ingredients, including the dry mixture.  

Instead of using all-purpose flour as you would in most muffin recipes, you will use superfine almond flour and coconut flour.  This is another way to help keep the carb count down.  These flours can be found at any regular grocery store.    
Last, you swirl in the cream cheese mixture.  Mine was soft enough that it was not hard to swirl in.  If your cream cheese mixture seems to be too thick, you can always pop it in the microwave for 10 seconds to soften a bit before swirling.  

The flavor of these muffins is seriously on point.  The pumpkin pie spice adds a nice balance of cinnamon, nutmeg, cloves and ginger. The texture is perfect and when combined with the tangy and sweet cream cheese, it really is SO dang good. 

I know these will be made constantly at my house this Fall season.  AND the best part is, the kids even love them.  
You might also like:
Cream Cheese Swirled Pumpkin Muffins {Keto Friendly}
(Printable Recipe)

1/2 c. unsalted butter, room temperature
2/3 c. granulated sweetener (I like Monkfruit)
4 large eggs
3/4 cup canned pumpkin puree
1 tsp. vanilla
1 1/2 c. superfine almond flour
1/2 c. coconut flour
4 tsp. baking powder
2 tsp. pumpkin pie spice
1/2 tsp. cinnamon
1/2 tsp. salt

Cream Cheese Mixture:
8 oz. cream cheese, room temperature
3 Tbl. granulated sweetener (I like Monkfruit)
1 tsp. vanilla extract

Preheat oven to 350 degrees.  Line a 12-cup muffin tin with paper liners, spray with cooking spray and set aside.  In a large mixing bowl, cream together butter and sweetener until smooth and creamy.  Add the eggs, one at a time, mixing after each addition.  Mix in the pumpkin puree and vanilla and mix until combined.  In a separate medium bowl, combine the almond flour, coconut flour, baking powder, pumpkin pie spice, cinnamon and salt.  Add dry ingredients to wet ingredients and mix until combined.  Fill muffin cups 3/4 full with batter.  I like to use an ice cream scoop, so they're all the same size.  Set aside.

For the Cream Cheese Swirl: In a medium mixing bowl, combine the cream cheese, 3 Tablespoons granulated sweetener and 1 teaspoon of vanilla and mix until smooth and creamy.  Drop a heaping Tablespoon of cream cheese mixture on the top of each muffin.  Use a toothpick and swirl the cream cheese mixture into the pumpkin mixture.  Bake in preheated oven for about 22-23 minutes or until a toothpick inserted in the pumpkin part of the muffin comes out clean.  Makes about 13 muffins.  Cool and serve.  Store leftovers in the refrigerator.  These are great served at room temperate and cold.  

recipe adapted from: Green and Keto

Jenn's Notes: When I calculated these ingredients using an online nutrition calculator, I get about 3 Net Carbs per muffin.  This is for informational purposes only.  Please use your own nutrition calculator to get your macros.


August 1, 2020

Keto Zucchini Bread


I have been working on a few different Keto-Friendly Zucchini Bread Recipes.  This version is one of my family's favorites so far.  It has a great texture and flavor.  If you haven't baked much with almond flour, it does give the bread a different texture than what you might be used to with regular all-purpose flour.  To help with the texture, make sure you squeeze out as much liquid from the zucchini as you can.  This will help keep the bread from being too wet.  I like to peel most of my zucchini, but I do leave some of the peel to have some pretty green specks throughout the bread. 

I have been making at least one loaf of this bread, each week, for the past month.  It's great for breakfast, lunch or just as a snack.  
You might also like:

Keto Zucchini Bread
adapted from: Jennifer Banz
2 c. almond flour
1/2 tsp. kosher salt
1 tsp. cinnamon
1 tsp. baking soda
1/2 c. keto-friendly granulated sweetener (I like Monkfruit and Swerve)
2 large eggs
1 tsp. vanilla
1/4 c. unsalted butter, melted
1 1/2 c. grated zucchini zucchini

Preheat oven to 350 degrees.  Line a 9x5-inch loaf pan with parchment paper and spray with cooking spray (don't skip this step); set aside.  In a small bowl, combine almond flour, kosher salt, cinnamon and baking soda; set aside.  In a separate medium bowl, whisk together sweetener, eggs and vanilla until well combined.  Slowly whisk in the melted butter.  Wrap the grated zucchini in a kitchen towel and squeeze out as much liquid as you can.  Discard liquid and add the zucchini to the egg mixture and stir to combine.  

Add the dry ingredients to the wet ingredients. Stir together until combined.  Batter will be very thick.  Add batter to prepared loaf pan and spread out evenly.  Bake in preheated oven for 50-55 minutes or until a toothpick comes out clean.  I like to tent my loaf with foil for the last 15 minutes, so the loaf doesn't get super dark. Cool in pan for 10 minutes, then remove and allow to cool completely.  Slice into 10-12 slices and serve.  

Notes: I used an online nutrition calculator and for 10 slices, I got 194 calories per slice, 16.3 grams of fat, 6.3 grams of protein and 2.6 net carbs per slice.  This is provided to help give you an estimate of stats.  Please use your trusted nutrition calculator for nutrition facts. 


August 21, 2019

Classic Zucchini Muffins


I am loving these muffins.  They are an easy and delicious classic muffin.  Simple ingredients, one bowl and sweet cinnamon flavor.  I have already made them twice in the past week.  They quickly became a new favorite recipe.  I love how simple they are and I love that they use 2 whole cups of zucchini and the batch only makes 12 muffins.  That is a bunch of zucchini packed into these muffins.

They are soft and tender and have just the right amount of sweetness and cinnamon flavor.  They stay fresh for several days.  They taste great plain and they are incredible smothered with jam.  I picked up some Tayberry Jam at a local Farmer's Market the other day, which apparently is a mix of a Blackberry and Raspberry and it is incredible.  It goes great with these muffins.
You might also like:


Classic Zucchini Muffins
(Printable Recipe)

2 large eggs
1 c. sugar
1 1/2 tsp. vanilla or 1 Tbl. vanilla bean paste
1/2 c. canola or vegetable oil
2 c. shredded zucchini, peeled or unpeeled
1 1/2 c. all-purpose flour
1/2 tsp. baking powder
1/2 tsp. baking soda
1/2 tsp. salt
1 tsp. ground cinnamon

Preheat oven to 350 degrees.  Spray a 12-cup muffin tin with cooking spray or brush each muffin cup with melted butter; set aside.  Whisk together eggs and sugar in a large bowl until thick and lemon-colored.  Mix in the vanilla and oil until combined.  Stir in the shredded zucchini. Add the flour, baking powder, baking soda, salt and cinnamon and stir together until just combined.  

Divide batter between muffin cups, filling each cup almost full.  Bake in preheated oven for 20-21 minutes or until top springs back when lightly touched or a toothpick inserted in the center comes out clean.  Makes 12 muffins.  

adapted from: Taste and Tell


April 28, 2019

Cinnamon Sugar Fruit Biscuits

Holy crap, these biscuits are to-die-for!  I loved them way more than I thought I would.  The recipe starts with canned biscuits that are dipped in butter and rolled in cinnamon and sugar and then topped with jam and baked.  I used my Mom's homemade strawberry jam which has been my favorite jam my entire life.  The end result is the softest, most tender, flaky biscuit with a crispy coating of sweet cinnamon and sugar and a fresh bright flavor from the jam.
I took one bite and knew this recipe is a keeper and will be made frequently from now on.  Even the hubby gave them a huge thumbs up and said they are so good.  You can use any flavor of jam you prefer.  I have a delicious recipe for Less-Sugar Peach Freezer Jam that would be delicious, but I sure love how the pretty red color of the strawberry jam stands out.

These are perfect to make for Mother's Day and easy enough the kids could help.  
You might also like:


Cinnamon Sugar Fruit Biscuits
adapted from: Taste of Home
(Printable Recipe)

1 (16 oz.) can Jumbo Biscuits (8 per can)
1/2 c. sugar
1 Tbl. ground cinnamon
1/4 c. unsalted butter, melted
strawberry jam (or your favorite jam)

Preheat oven to 375 degrees.  In a small bowl, combine cinnamon and sugar.  In a separate small bowl, melt the butter.  Dip top and sides of each biscuit in butter and then in the cinnamon and sugar mixture.  Place on an ungreased baking sheet.  Make a deep indent with your thumb in the center of each biscuit and fill with 1 - 1 1/2 tsp. jam.

Bake in preheated oven for about 15 minutes or until golden brown.  Remove from oven and place biscuits on a serving platter, using a spatula.  Allow to cool for about 10 minutes before serving (jam will be hot).

March 29, 2019

Butterscotch Banana Bread


This base banana bread recipe has been my go-to recipe for years.  It has gotten nothing but rave reviews since the day I posted the original version.  I just recently started adding butterscotch chips and OH MY, it is amazing.  Something about the flavor of the bananas, cinnamon and butterscotch just warms the soul.

This bread is soft and tender and stays fresh for several days.  The butterscotch chips melt and leave little pockets of rich and creamy toffee flavor.  I can't wait for you to try this comforting and delicious bread.


Butterscotch Banana Bread
From: Jenn@eatcakefordinner
(Printable Recipe)

1 c. all-purpose flour
1/2 c. wheat flour
1 tsp. baking powder
1 tsp. baking soda
1/2 tsp. salt
1/2 tsp. cinnamon, opt.
1 c. mashed ripe bananas (2-3 large bananas)
5 Tbl. unsalted butter, melted
3/4 c. sugar
1 large egg
1/3 c. buttermilk
1 tsp. vanilla
1/2 c. butterscotch chips

Preheat oven to 350 degrees.  In a medium bowl, whisk together the flour, wheat flour, baking powder, baking soda, salt and cinnamon.  In a separate bowl, whisk together the mashed bananas, melted butter, sugar, egg, buttermilk and vanilla until smooth.  Add wet ingredients to dry and stir together until almost combined.  Add the butterscotch chips and gently stir just until combined.  

Pour batter into a greased 9x5-inch loaf pan.  Bake for 42-44 minutes or until a toothpick inserted in the center comes out clean.  If the top begins to get too brown, tent a piece of foil over the top while it finishes baking.  Allow to cool.  Then, slice and serve.    

November 23, 2018

Pumpkin Flax Bread (Eggless)

Did anyone go out Black Friday shopping today?  I decided to avoid the crowds and the cold and hang out at home.       

While most of you are probably ready to move onto all things peppermint and eggnog, I'm still over here swooning over this pumpkin bread.  This was definitely our favorite pumpkin bread recipe this year and I made it so many times.

This recipe really intrigued me, because there are no eggs in it, but instead you add ground flaxseed meal.  Flax is said to offer many health benefits and it contains omega-3, fiber and protein.  It can also be used in recipes instead of eggs.    

The texture and flavor of this bread are amazing.  It's not too sweet and it's not overpowered with pumpkin flavor.  It's a delicious hearty bread that tastes great for several days.  This will be one of my go-to recipe for years to come.    
You might also like:


Pumpkin Flax Bread (Eggless)
adapted from: All Recipes
(Printable Recipe)

6 Tbl. water
2 Tbl. ground flaxseed meal
1 1/2 c. sugar
1 c. canned pumpkin puree
1/2 c. canola oil
2 tsp. vanilla extract
1 3/4 c. all-purpose flour
1 tsp. baking soda
3/4 tsp. salt
1/2 tsp. baking powder
1 tsp. cinnamon
1/4 tsp. ground nutmeg
1/4 c. mini chocolate chips

Preheat oven to 350 degrees.  Grease a 9x5-inch baking pan with cooking spray and line with parchment paper.  In a large bowl, whisk together the water and flaxseed meal.  Stir in the sugar, pumpkin, oil and vanilla and whisk until combined.  In a separate medium bowl, combine the flour, baking soda, salt, baking powder, cinnamon and nutmeg.  Add dry ingredients to wet ingredients, along with the mini chocolate chips and stir together until just combined.  

Pour batter into prepared pan and spread out evenly.  Bake in preheated oven for 65 minutes or until a toothpick inserted in the center comes out clean.  I like to tent mine with foil the last 10 minutes of baking, so the top doesn't get too brown.  Allow to cool in pan for 10 minutes, then remove and cool completely.  Slice and serve.  

August 12, 2018

Lemon Poppy Seed Zucchini Bread with Lemon Icing


I have been seeing lemon poppy seed zucchini bread recipes all over the place lately.  So, I figured I'd join in and post my own recipe for this delicious bread.  This bread is guaranteed to be a huge hit and the icing on the top is the perfect finishing touch. 

This is the 3rd loaf of lemon zucchini bread I have made in the past week.  The first loaf had the strangest flavor.  Then, I tried again and used buttermilk instead of sour cream and added in a little vanilla and that did the trick.  This bread is absolutely AMAZING. The 2nd loaf I made was gone within two days and then I just made the 3rd loaf today.  

This bread is so soft and moist with the perfect amount of lemon flavor.  This recipe will definitely help you use up some of that garden zucchini.  
You might also like:


Lemon Poppy Seed Zucchini Bread
From: Jenn@eatcakefordinner
(Printable Recipe)

2 large eggs
2/3 c. sugar
1/2 c. canola or vegetable oil
1/2 c. buttermilk
1 c. grated zucchini (peeled or un-peeled)
grated zest of 1 lemon
juice of 1 lemon (or 2 Tbl.)
1 tsp. vanilla extract
2 c. all-purpose flour
1/2 tsp. salt
2 tsp. baking powder
1 1/2 Tbl. poppy seeds

Lemon Icing
1 c. powdered sugar
grated zest of 1 lemon
1/2 tsp. lemon extract, opt.
1-2 Tbl. milk

Preheat oven to 350 degrees.  Spray a 9x5-inch loaf pan with cooking spray and line with parchment paper; set aside.  In a large bowl, whisk the eggs.  Add the sugar and whisk until thick and lemon colored.  Stir in the oil, then the buttermilk, lemon zest, lemon juice, vanilla and grated zucchini.  Stir in the flour, salt, baking powder and poppy seeds just until evenly combined.  

Pour into prepared loaf pan and bake around 50 minutes, or until a toothpick inserted in the center comes out clean.  Remove from oven and cool in pan for 10 minutes.  Then, remove from pan and cool completely. Top with icing and when icing has set, slice and serve.    

Lemon Icing:  In a small bowl, combine powdered sugar, lemon zest, lemon extract and 1 Tablespoon of milk.  Stir until smooth.  If icing is too thick, add a little more milk until it reaches desired consistency.  Pour over cooled loaf.  

November 25, 2017

Cornmeal Buttermilk Biscuits

Did you all survive Thanksgiving?  Have you started your Christmas shopping?  We went out Friday to pick up a few things and it was sooooo crazy.  I figured it would be busy, but it was SO busy.  That's okay though, because I scored some good deals.  Now, I just want to relax and enjoy some warm biscuits covered in honey.

 I originally posted this recipe back in 2012 and it is so good that I figured you all needed to see it again :)  Here is my original post: 

Back in the day, my Grandma Parker loved to copy down recipes from T.V.

I don't know if T.V. was different back then, but I am wondering how in the world did she write down all those ingredients so fast?

I tried it the other day and thank goodness for my DVR.  I had to click pause and rewind so many times and there weren't even that many ingredients to write down. 

Luckily I got them all right, because these Corn Biscuits turned out SO GOOD!

They are crisp on the outside and moist on the inside.  The cornmeal is soaked in buttermilk for 10 minutes, so your biscuits don't end up too grainy.  The texture is perfect and the flavor is just right, not to sweet.  They taste like cornbread, but in biscuit form and when drizzled with honey, you might find yourself eating one too many.  

Cornmeal Buttermilk Biscuits 
1 c. cornmeal
1 1/4 c. buttermilk
2 Tbl. honey
2 c. all-purpose flour
1 Tbl. baking powder
1/2 tsp. baking soda
1 tsp. salt
1 1/2 sticks (12 Tbl.) unsalted butter, cut into chunks

Whisk together the cornmeal, buttermilk and honey.  Let rest for 10 minutes to soften the cornmeal.  Add the flour, baking powder, baking soda and salt to a food processor.  Add the cold cubed butter and pulse until it resembles coarse sand.  If you don't have a food processor you can either use a pastry cutter or your hands to cut in the butter.  Add the dry ingredients to the wet ingredients and fold together using a rubber scraper until no streaks of flour remain.  Lightly flour board.  Knead dough a few times and pat out into a 9'' circle, 3/4'' thick.  Cut out biscuits using a 2 1/2'' cutter.  Transfer biscuits to a parchment paper lined baking sheet.  Bake at 450 degrees for 5 minutes, until they just start to rise.  Lower temperature to 400 degrees and bake for 8-12 minutes or until golden and risen.  Yield: 12 biscuits.

Jenn's Notes: I added extra buttermilk, because the dough seemed a little dry and I ended up with a fairly sticky dough.  I don't know if that is why my biscuits ended up so moist, but that is how I will make them from now on, because I loved them. 

September 30, 2017

Pumpkin Chocolate Chip Bread {It's Low-Fat and Amazing}

Hey, how's it going?  This is my absolute favorite pumpkin chocolate chip bread ever.  I crave this all year long and the best part is, there is only one Tablespoon of oil in the whole thing.  I originally posted this recipe back in 2012, so I figured the world needed to see it again and then you all need to make this ASAP.  The original recipe called for a chocolate drizzle, which was some melted chocolate chips drizzled over the top of the baked loaf, but it really does not need that.  This bread is already so rich and flavorful.  I like to use mini chocolate chips, because you get pockets of creamy chocolate throughout, but you can use regular chocolate chips if that is all you have.

Here is my original post from 9/30/2012:
I am pretty sure this bread is my new BFF.  I can't stop raving about it.  I love it not only because it tastes so good, but it is LOW-FAT (compared to other pumpkin breads).  I promise you would NEVER KNOW IT.  The recipe only calls for 1 TABLESPOON of oil, but it is just as moist as other pumpkin breads that call for up to 1/2 cup of oil.

Now, I am questioning all my other pumpkin bread recipes, why have I been adding so much oil if it is not even needed?  I think it is time to start experimenting!  
This bread is so good by itself that it doesn't even need the chocolate drizzle on top (and it would have even fewer calories, of course).  In fact, I ate half the loaf before I even added the drizzle.  It still tasted perfect on the 4th day when I enjoyed my last slice.

This recipe also comes from my new Favorite Family Recipes Cookbook that I told you about the other day.  They said they prefer this low-fat recipe over regular recipes and I totally understand why.

You better try this so you can rave about it too!  

Hopefully by now you have already printed out the recipe and are heading into the kitchen to whip this up!

**Update (8/22/2013) - I have made this several times and it turns out perfect every time.  I have also made this into mini muffins.  You will get 48 mini muffins - bake for 10-11 minutes.** 

Pumpkin Chocolate Chip Bread 
1 1/2 c. all-purpose flour
1 1/2 tsp. baking soda
1 tsp. salt
2 tsp. cinnamon
1/2 tsp. nutmeg
1 c. canned pumpkin puree
1 tsp. vanilla
1 c. brown sugar
1/2 c. low-fat buttermilk
1 large egg
1 Tbl. canola oil
1/2 c. mini chocolate chips 

Preheat oven to 350 degrees.  Spray a loaf pan with non-stick cooking spray and line with parchment paper.  In a small bowl, combine flour, baking soda, salt, cinnamon and nutmeg; set aside.  In a large bowl, whisk together pumpkin, vanilla, brown sugar, buttermilk, egg and oil.  Add dry mixture to wet ingredients, stirring just until moistened; do not overmix.  Fold in chocolate chips.   Pour into pan.  Bake for 50 minutes or until toothpick comes out clean.  Let cool for 15 minutes, then remove from pan and cool completely. 

Jenn's Notes: This bread browns pretty quickly in the oven thanks to all that brown sugar.  It will look very dark like you burnt it, but it doesn't taste burnt.  You could always tent a little foil over it the last 10 minutes of baking if you don't want it as dark.   

August 29, 2017

Pumpkin Spice Cinnamon Roll Cake with Pumpkin Icing

I know I say this a lot, but this Pumpkin Spice Cinnamon Roll Cake is seriously one of my favorites.  It's Fall comfort food at it's finest.  Seriously, this is DIVINE.

I usually wait until September to start posting pumpkin recipes, but we are close enough, right?  I couldn't wait any longer to share this with you.  

This Cinnamon Roll Cake is ooey, gooey, soft and chewy.  Pretty much everything you could ask for in a cinnamon roll, but instead of individual rolls, you get one giant cinnamon roll cake.  With each bite you get a hint of clove, cinnamon, nutmeg and pumpkin.  It tastes incredible on day one and it's even delicious on day two.  On day two, just pop a slice in the microwave for 15 seconds and you are good to go.  Add this to your must make list immediately.   

Let me show you how easy this is to make . . .
First, get all of your ingredients ready.  You will need thawed Rhodes Dinner Rolls, butter, cinnamon, pumpkin pie spice, brown sugar, cream cheese, pumpkin puree, vanilla, salt and powdered sugar.  
Combine all thawed dinner rolls into one large ball and place on a lightly floured surface.  
Roll out dough ball into roughly a 17''x11'' rectangle.  It doesn't have to be exact, similar measurements will work.  Brush softened butter over dough and then sprinkle with pumpkin pie spice, cinnamon and brown sugar mixture.  Cut dough into roughly 6 (1 3/4-inch) strips, cutting lengthwise.    
Roll up the first strip of dough into a cinnamon roll and place in the center of a large skillet or pie plate that has been sprayed with cooking spray.  
Take the next strip and wrap around the roll, pinching the ends together to seal.  It will get a little messy, but it's okay.  
Continue wrapping the remaining strips around the roll until no strips remain.  You can leave the excess brown sugar crumbles in the pan, because it will stick to the cake as it rises.  Or, you can scoop up the excess and sprinkle on top of the cake.  
Spray plastic wrap with cooking spray and loosely cover the cake.  Allow to rise in a warm place until doubled in size.  This takes around 60-90 minutes.  When doubled in size, remove plastic wrap and bake in a preheated oven until golden brown.   
Meanwhile, prepare the pumpkin icing.  Remove baked cinnamon roll cake from oven and allow to cool for 15 minutes.  Then, spread the glorious pumpkin icing over the entire surface of the cake.  Slice and serve or allow to cool then serve.  


Pumpkin Spice Cinnamon Roll Cake with Pumpkin Icing
From: Jenn@eatcakefordinner

15 Rhodes dinner rolls, thawed but still cold

Filling:
5 Tbl. unsalted butter, room temperature
1/2 c. light brown sugar, packed
1 1/2 tsp. pumpkin pie spice
1 1/2 tsp. cinnamon

Icing:
3 Tbl. unsalted butter, room temperature
2 oz. cream cheese, room temperature
2 Tbl. canned pumpkin puree
1 tsp. vanilla
1 1/2 c. powdered sugar
pinch of salt

Place 15 frozen dinner rolls into a 9x13-inch pan, cover, and refrigerate overnight (or 8-10 hours).  In the morning, combine all 15 thawed dinner rolls and form into a ball.  Place dough ball onto a lightly floured surface.  Roll out into roughly a 17''x11'' rectangle.  It doesn't have to be exact, similar measurements will work just fine.  If dough resists being rolled out, allow it to sit for 5 minutes or so and then try again.  

For the Filling: Combine brown sugar, pumpkin pie spice and cinnamon; set aside.  Brush softened butter over dough and then sprinkle with brown sugar/pumpkin spice mixture.  Press mixture into dough slightly.  Cut rectangle into 6 (1 3/4'') strips, cutting lengthwise.  Take first strip and roll it into a cinnamon roll.  Place roll in the center of a large, oven-safe, skillet or pie plate that has been sprayed with cooking spray.  Take the next strip of dough and wrap around the roll, pinching together ends to seal.  Repeat with remaining strips of dough until no strips remain.  There will be brown sugar mixture in the skillet and that's okay.  It will stick to the cake once it rises or you can scoop up the excess mixture and sprinkle over the top of the cake.  

Spray plastic wrap with cooking spray and cover cake.  Allow to rise in a warm place until doubled in size, around 60-90 minutes.  When dough has risen, remove plastic wrap and bake in a preheated 350 degree oven for 30 minutes.  If it starts to get too brown on top, tent with a piece of foil for the last 10 minutes of baking.  Remove from oven and allow to cool for 15-20 minutes and then spread the pumpkin icing over the entire surface.  Slice and serve.  

For the Pumpkin Icing: Combine butter and cream cheese and mix together until smooth and creamy. Add the pumpkin puree and vanilla and mix until combined.  Add the powdered sugar and pinch of salt and mix until creamy.  Spread over warm cinnamon roll cake. 

This post is sponsored by Rhodes Bread. I have always been a fan of Rhodes Rolls and all opinions are my own.  Thanks for allowing me to work with the brands that I love and use in my own kitchen. 


LinkWithin